

Getting Your UV Curing Just Right
We build custom UV lamps, but we don’t just throw parts together. We design them to hit a very specific target. When you’re setting up a curing line, you want one thing: consistency. You need the same UV dose across the whole piece, every single time. Because if the output dips or the wavelength drifts just a bit, you’re stuck with tacky surfaces or coatings that just peel right off. It’s a nightmare.
The push and pull of intensity
Curing is basically a balancing act between the light, the distance, and the chemistry. We tweak things like the gas fill and the electrode shapes so the intensity actually matches the photoinitiator you’re using. If you need raw power to keep a fast line moving, we use high-wattage tubes. But here’s the catch: you have to time it perfectly with your conveyor. Go too fast? The resin doesn’t cross-link and stays gooey. Go too slow? You’ll probably warp or melt your substrate.
The nitty-gritty of the build
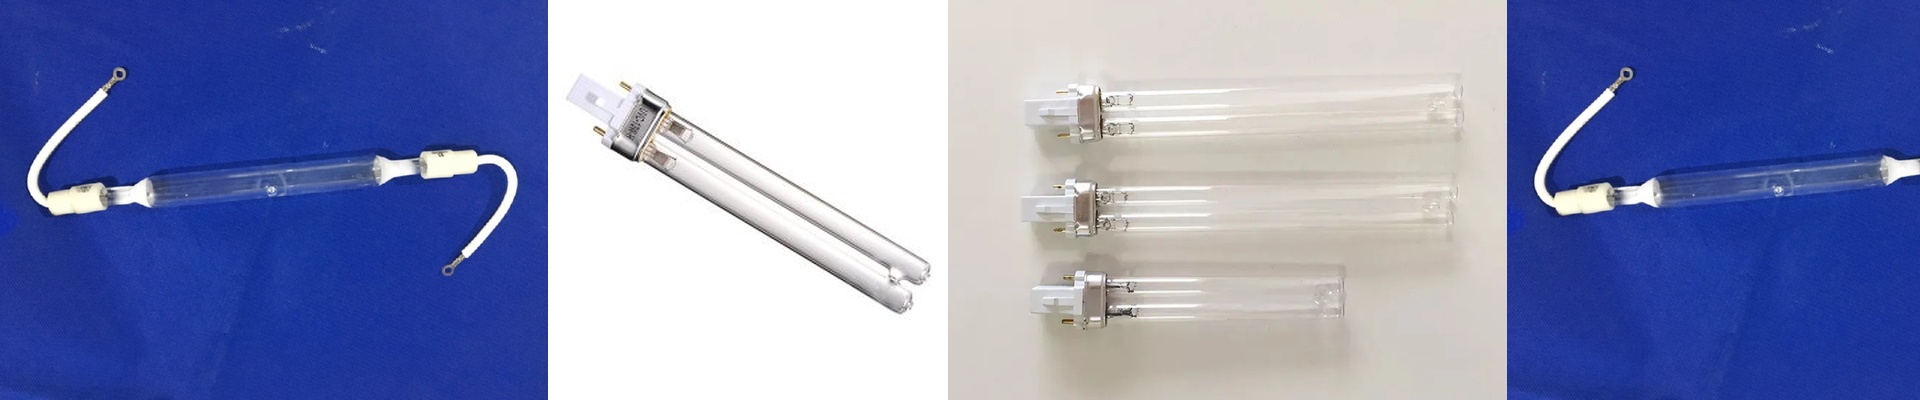
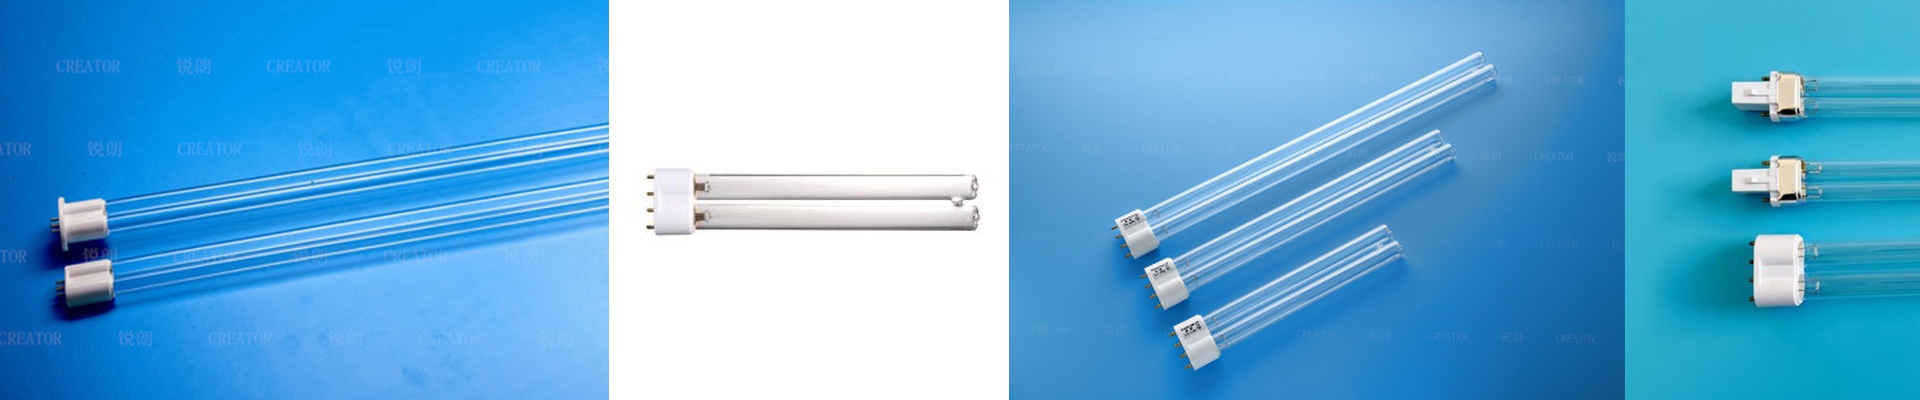
In our shop, we obsess over the small stuff—lamp length and pin setups. Whether you’re replacing an old lamp or building a brand new array, the fit has to be spot on. If a connection is loose at the socket, you get arcing. Then the lamp burns out way too early. We also use high-purity quartz glass. Why? Because it doesn’t soak up the UV rays. It lets the photons pass straight through to your product, which is where they belong.
The heat problem
Here is the thing about high-intensity lamps: they put out a lot of infrared heat alongside the UV. For some coatings, that heat is actually helpful. But if you’re working with thin plastics or PET, it can ruin your part in seconds. You’ll need to make sure your cooling fans or chilled air blowers can handle the load. If the cooling can’t keep up, your lamps aren’t going to last nearly as long as they should. We stand by our work. If our custom lamps don’t perform as well as the big-name brands at the same price, we’ll give you your money back. Simple as that.